In a warehouse, the floor earns its keep
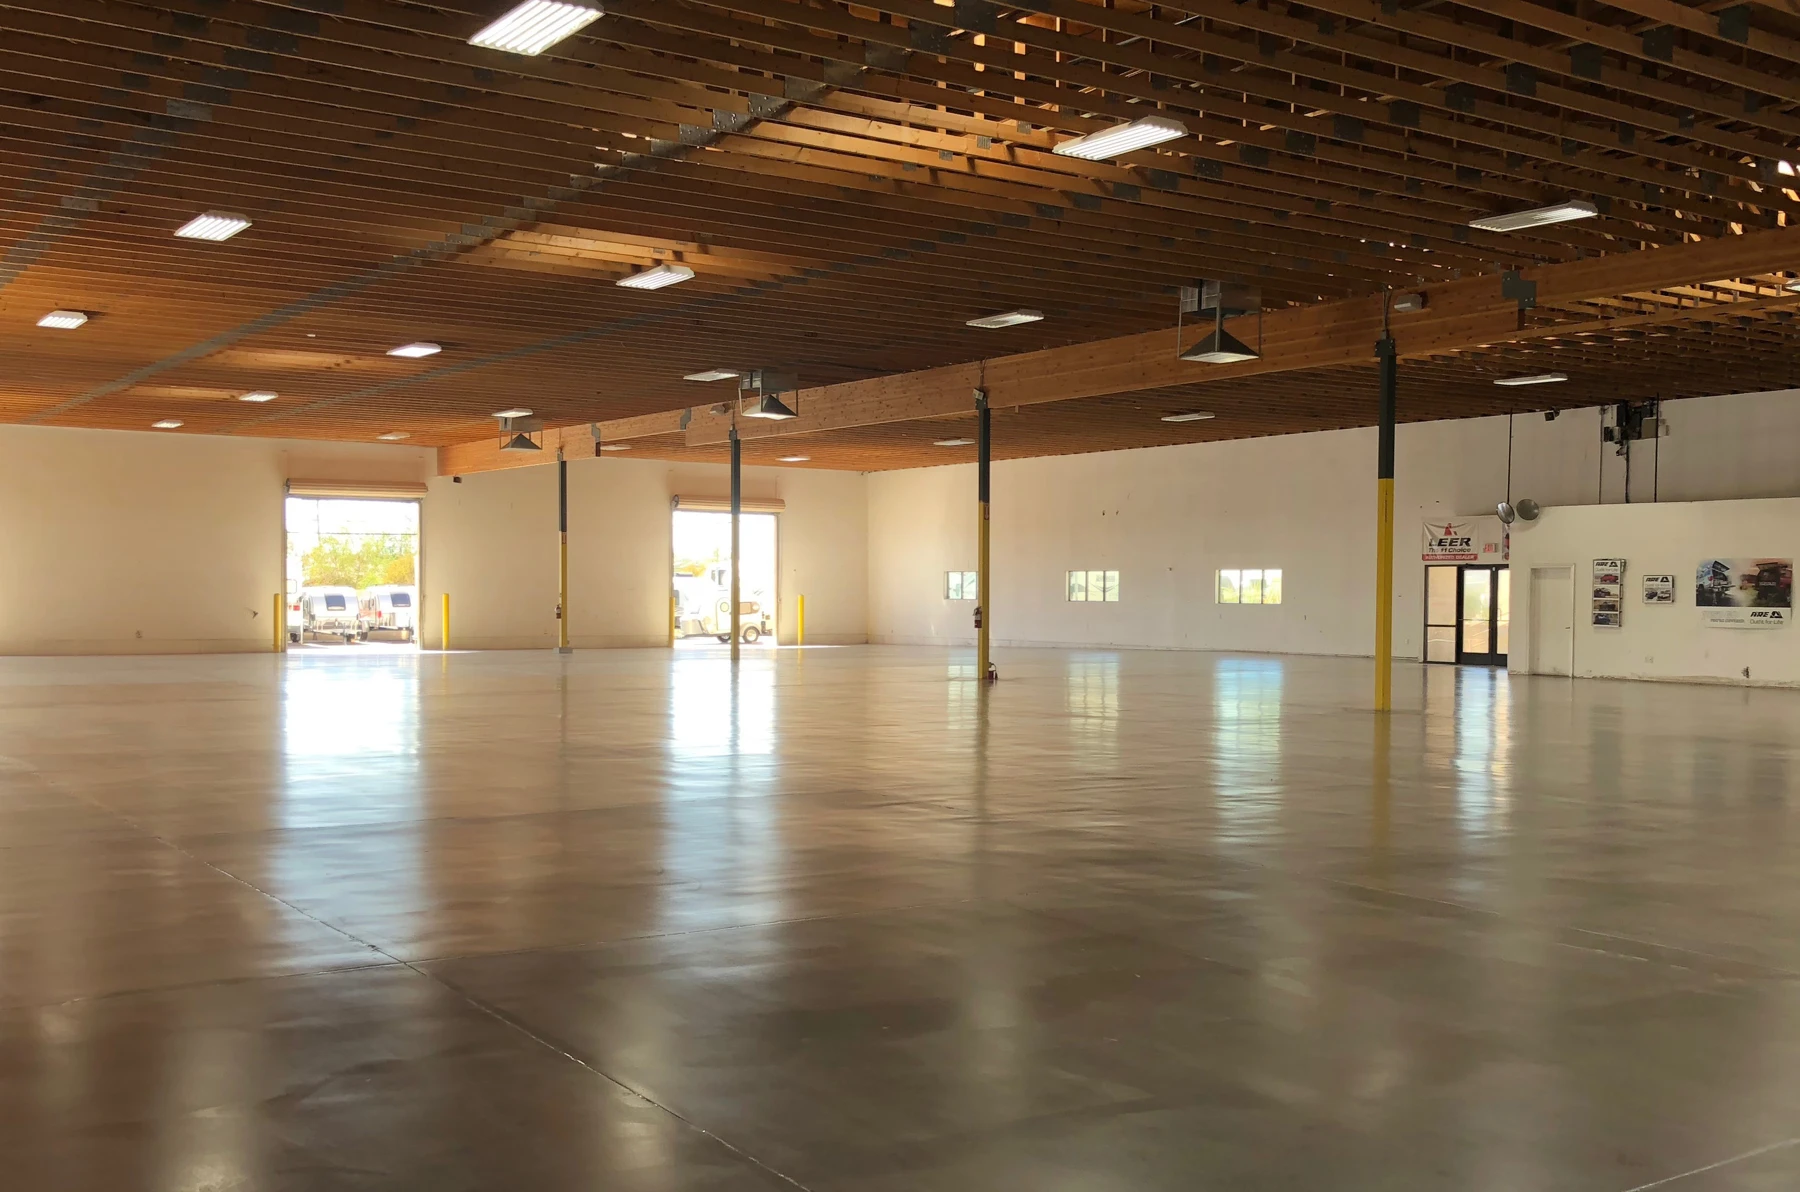
A useful warehouse floor starts with traffic, not a mirror-like photograph. Follow a forklift route, look at turning areas and inspect the slab near doors. Those observations help set a realistic finish: the team needs a sound surface that is straightforward to clean, with sheen agreed for the actual lighting.
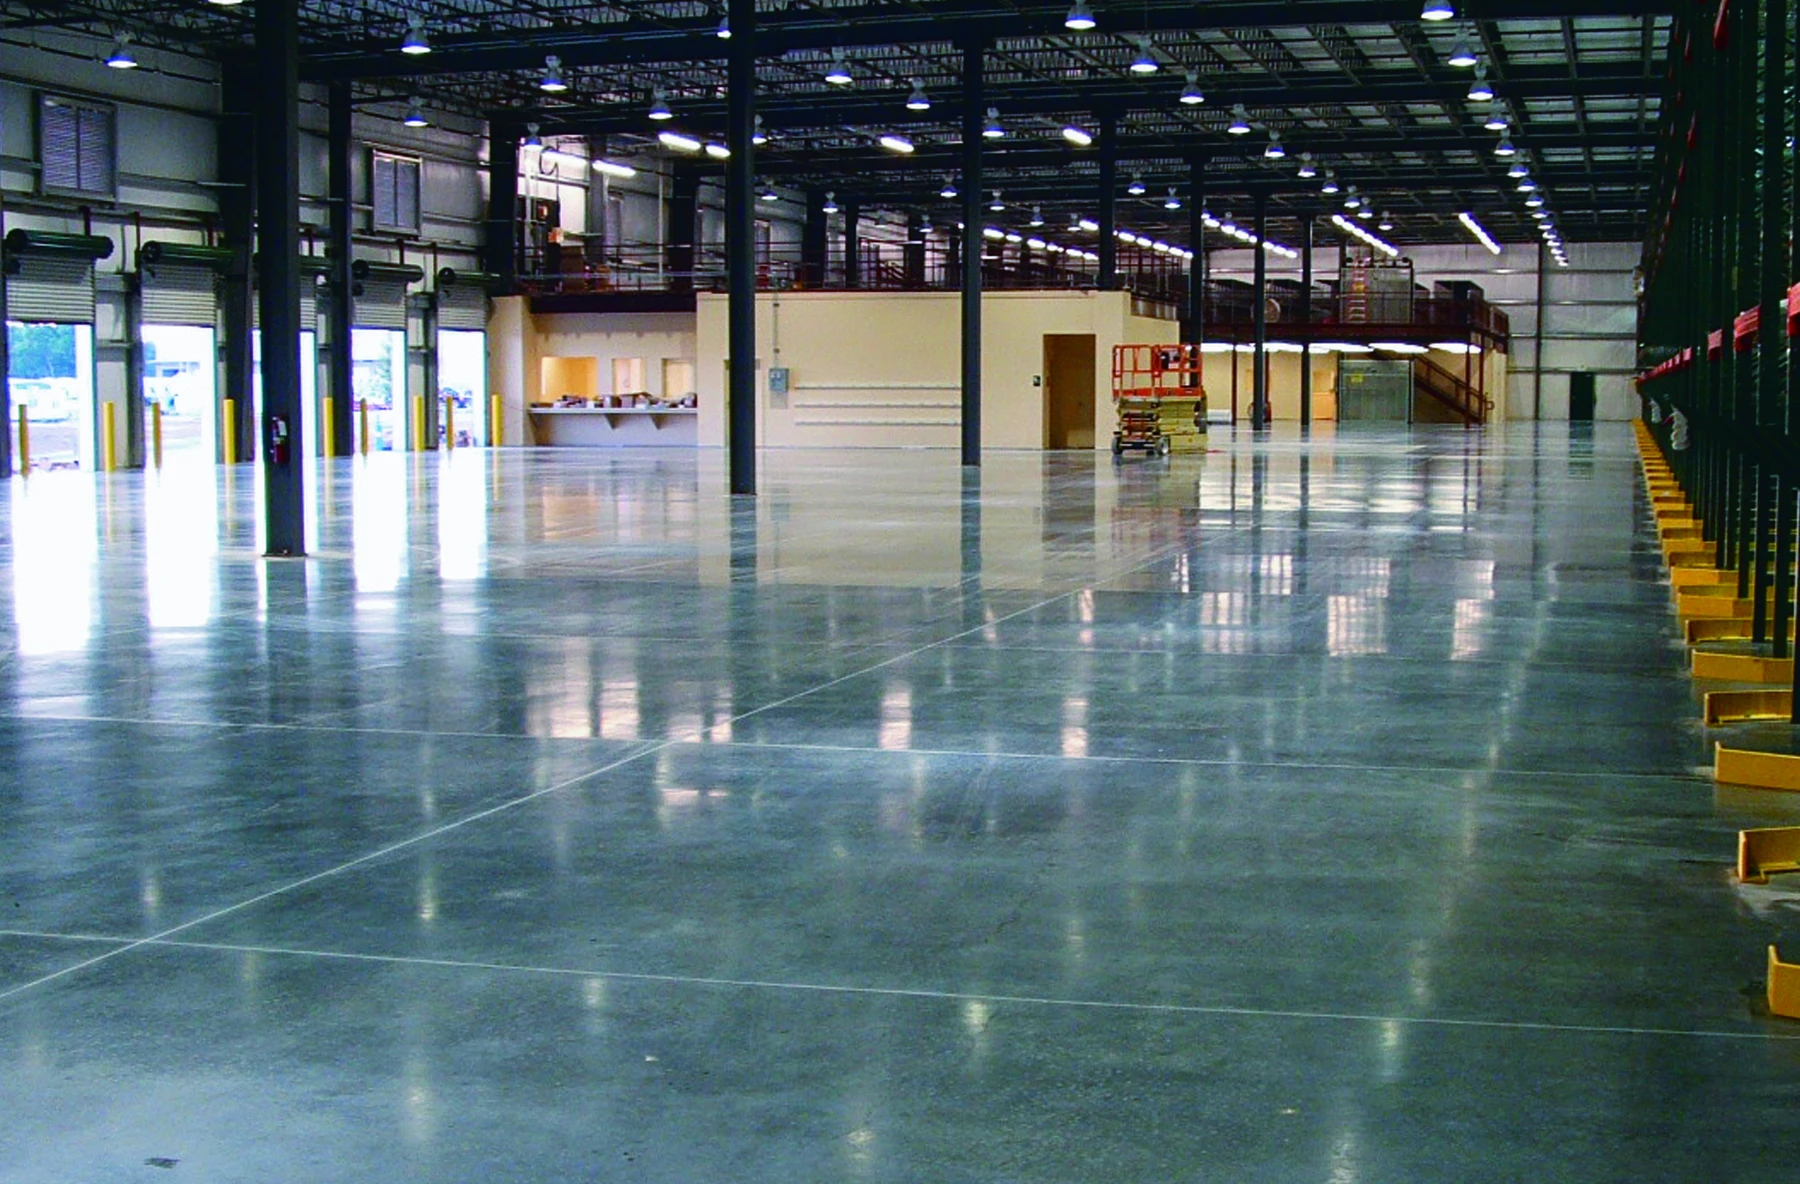
An industrial polished floor uses the concrete itself as the wearing surface. Grinding and polishing refine that surface; a lithium densifier helps improve surface abrasion resistance and reduce dusting. The target is a maintainable floor with a level of sheen appropriate to the operation, rather than the highest possible gloss.
What the crew brings to site
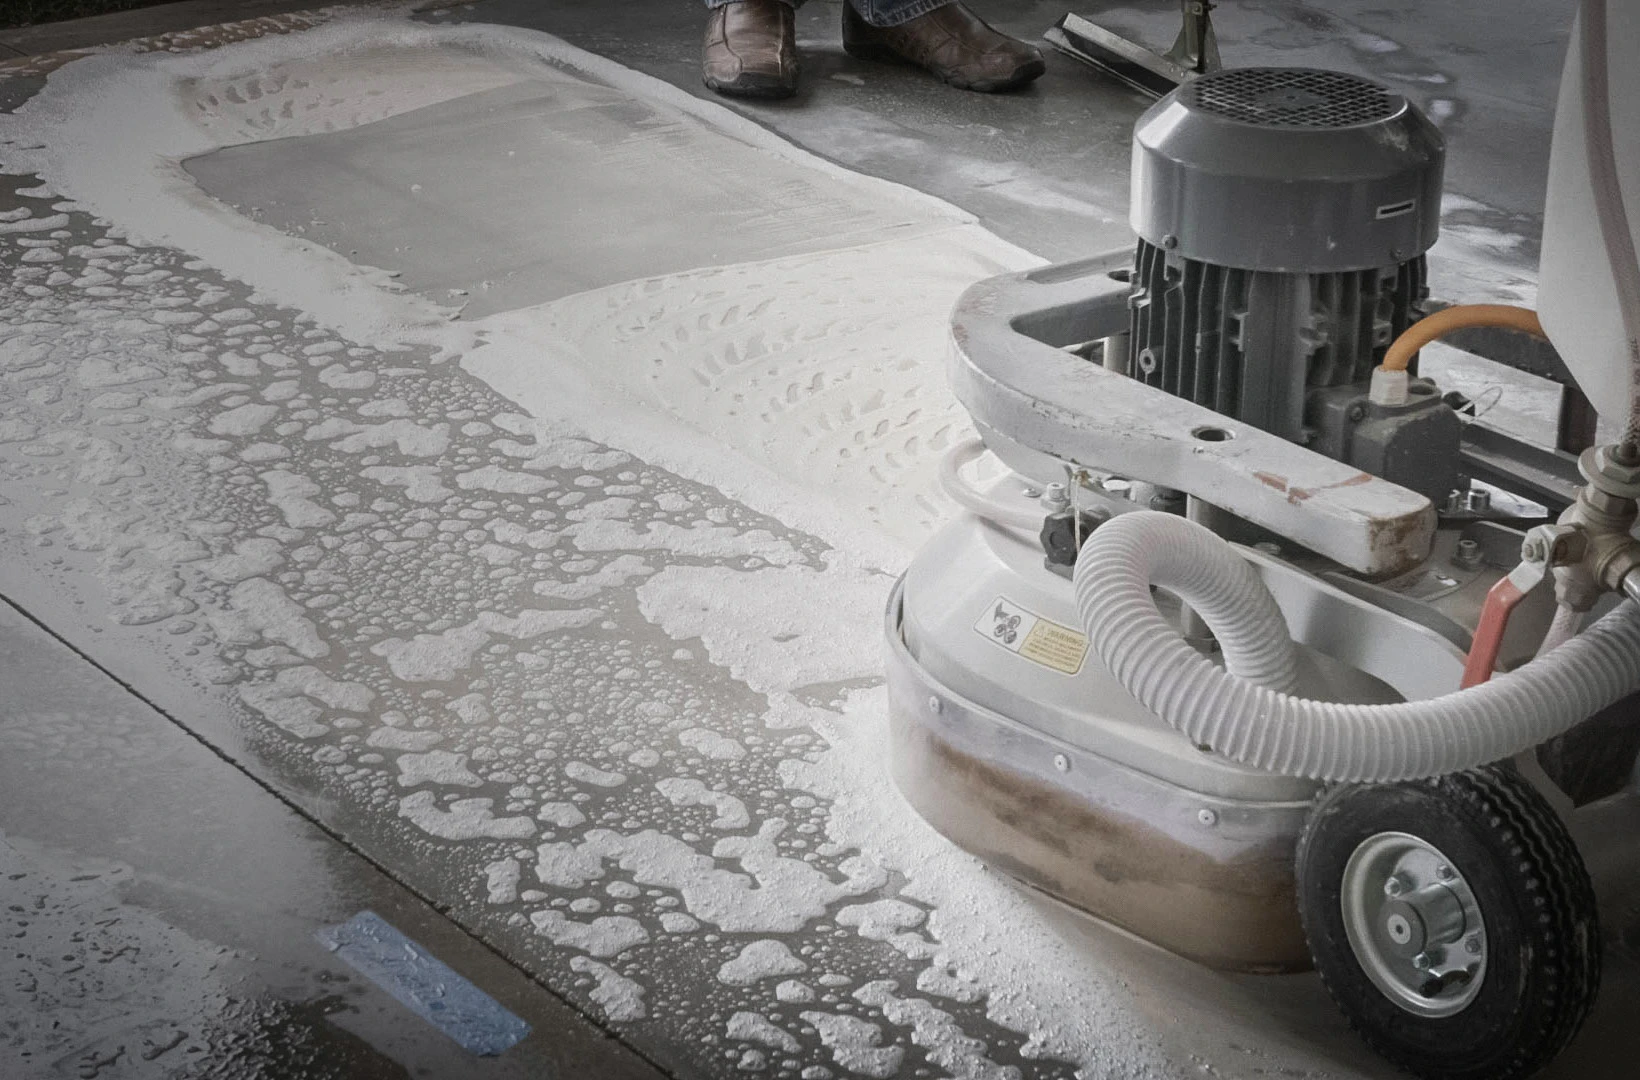
A concrete grinder does the cutting when the surface needs levelling or deeper aggregate exposure. An edge grinder reaches walls and columns. The machine and tooling are selected together for the slab, not simply by motor power.
On suitable surfaces, C² Power Polish offers another route: C² Diamonds resin discs fitted to compatible power trowels, scrubber-dryers or swing machines. Check the mounting, speed and wet/dry compatibility before starting. A finishing system is not a substitute for deep stock removal.
The less glamorous kit matters too: appropriate dust extraction for dry work, slurry collection for wet work, a scrubber-dryer for cleaning between stages, a low-pressure sprayer and clean microfiber applicators. Keep clean tools separate from the grinding area.
Read the surface, then choose the disc
Think of a disc number as a step, not a promise of gloss. Coarser tooling opens the surface; finer tooling refines the scratches it leaves. Metal-bond tools are used for removal, while resin tooling develops the finish. Concrete hardness, the tool bond and the machine all influence the cut. Choose the initial grit on a trial area and check tool wear early; do not copy a sequence from another slab blindly.
The route for this floor
On a sound, well-finished slab, trial the C² Power Polish route before assuming heavy grinding is needed. If the trial reveals unevenness or deep damage, prepare mechanically first. Progress through the selected discs, clean between stages and densify at the specified point. Stop at the approved finish rather than polishing further just because another disc is available.
#50 → #100 → #200, wet · suitable C² densifier · #400 → #800 → #1500, wet or dry · compatible protection.
This is one manufacturer route for suitable concrete, not a compulsory recipe for every floor. Agree the starting point and stopping point on the sample. Coloured floors follow the Tint instructions; a matte finish does not require chasing the highest grit.
What a good pass looks like
Work in manageable areas with even, overlapping passes. At each change of abrasive, remove loose grit and inspect a clean patch under low-angle light. A remaining coarse scratch needs attention now: a finer disc may make the surrounding concrete shine without removing it. Treat the perimeter to the same visual standard as the middle. Machine speed, pressure and travel rate come from the equipment and tooling instructions, then are confirmed on the test area.
How this floor is made
- 01
Assess and agree
Assess the slab and traffic. Record coatings, oil contamination, cracks, joints and local damage. Agree how equipment traffic, wet areas and spill risks affect the specification. Remove incompatible residues and prepare a clean, absorbent surface; new concrete still needs its specified curing procedure.
- 02
Prepare the surface
Choose how much material to remove. A sound, well-finished slab may need a lighter refinement than a damaged surface. Grind progressively where required, removing scratches from the previous stage. Use C² Pin Fix for appropriate pinholes during grinding, not as a repair for structural cracks or moving joints.
- 03
Build the finish
Densify the prepared concrete with a suitable C² hardener. C² Hard is one route; porous concrete may call for C² Super Hard after assessment. Spread evenly without puddles, follow the product instructions and continue the agreed polishing sequence after drying and residue removal.
- 04
Protect and maintain
Select protection for the actual spill exposure. C² Protector is an option where preserving appearance matters; other protection needs a separate assessment. Begin routine cleaning with C² Clean or C² Maintenance and remove grit and spills promptly.
Floor and process examples