

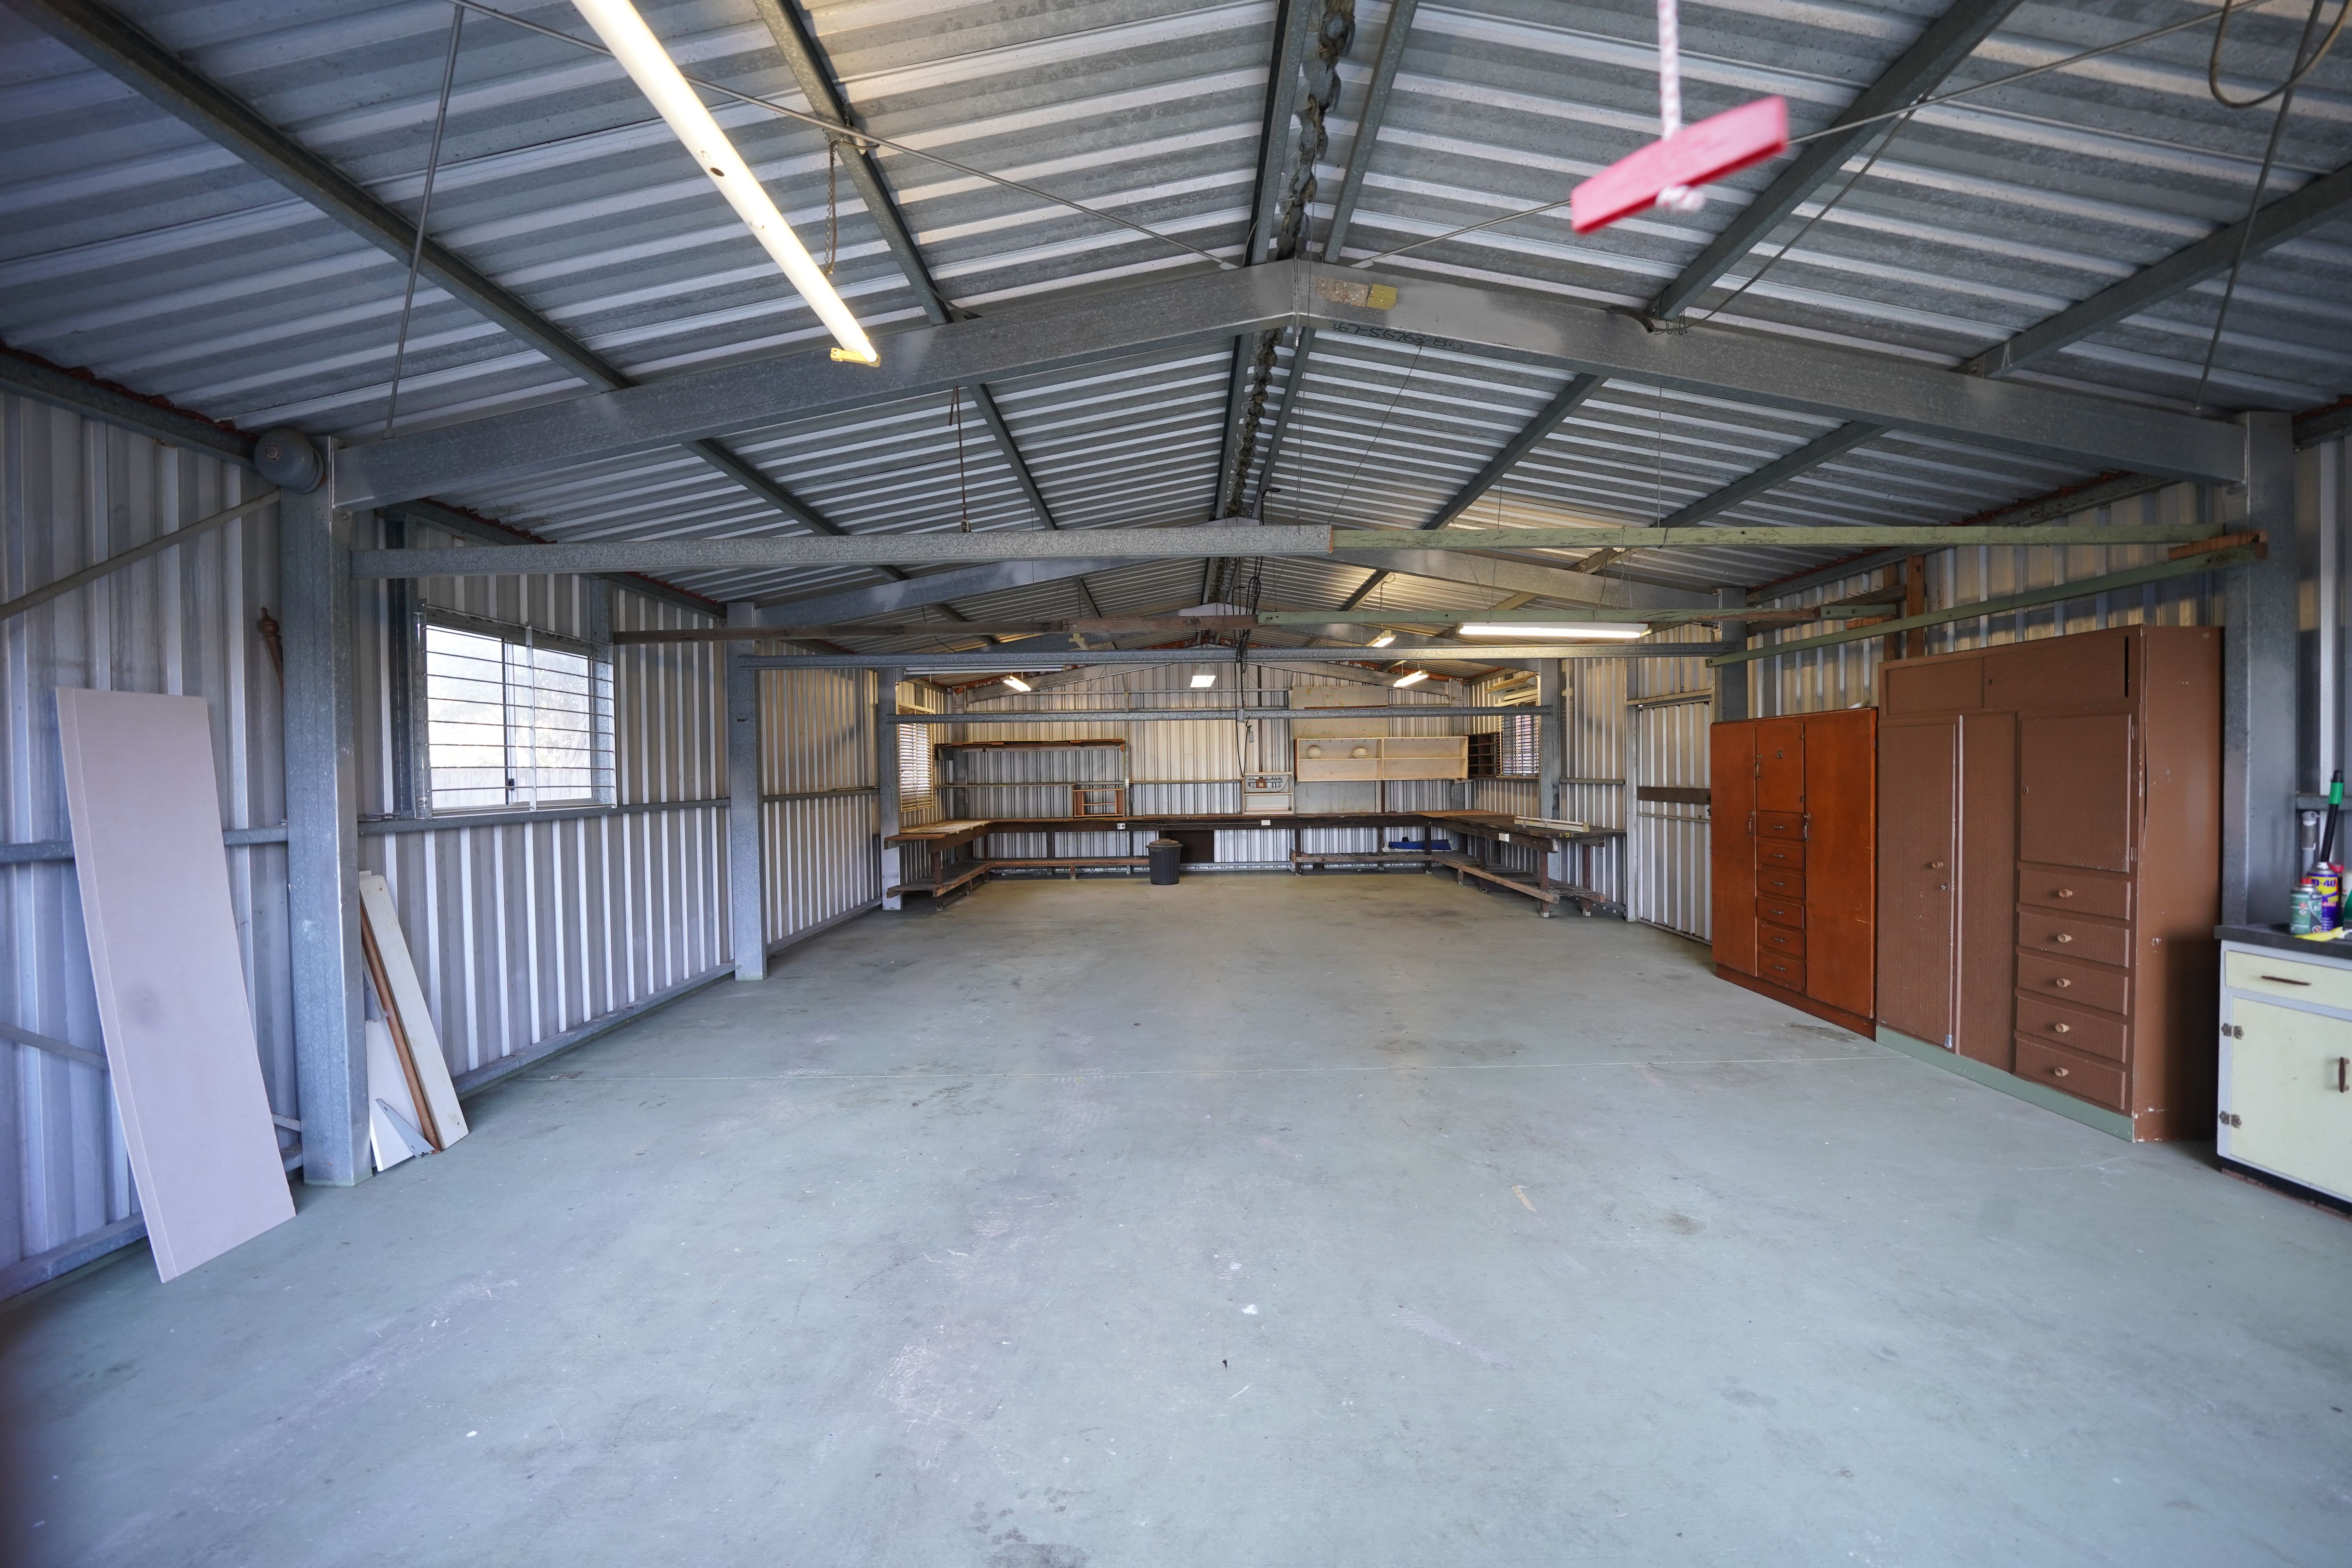
A useful floor, without a showroom makeover
Open the garage door, move the boxes and sweep. If a fresh grey film appears again, the concrete surface may be contributing to the dust. First find out whether it is simply porous or actually failing; that decision matters more than the shine.
A garage does not need to become a showroom to feel better to use. Often the aim is simpler: stop carrying concrete dust onto the shelves and make sweeping worthwhile. C² Super Hard is a lithium-silicate densifier to consider for porous existing concrete. It works within the surface; it is not a levelling compound or an opaque coating that hides the floor’s history.
What the crew brings to site
Start with practical cleaning equipment: a suitable industrial vacuum, a brush or scrubber-dryer, and a way to collect dirty water. For the hardener, use the low-pressure sprayer and clean microfiber applicator specified in the instructions. Protect adjoining surfaces before spraying.
Bring in a concrete grinder only where the surface needs mechanical preparation. Use compatible dust extraction for dry grinding and collect slurry during wet work. Unnecessary deep grinding can expose defects and change the appearance, so decide from the test area.
Do these floors need diamond polishing?
Not automatically. If the concrete is sound, clean and absorbent, dust reduction does not require a decorative polishing sequence. Where coatings or a weak surface obstruct treatment, select the removal tools for the substrate and coating, then assess the prepared concrete again. Disc selection is a preparation decision, not a requirement to polish every garage.
The route for this floor
For this route, prepare and test first, apply the suitable densifier, then clean and decide on additional protection. Mechanical refinement is optional, based on condition and the desired finish.
Let the trial set the plan
Keep an untreated patch beside the trial. Once dry, compare surface dusting, appearance and cleaning behaviour rather than expecting a mirror finish. Measure how much product the trial used and scale that consumption to the room. A very absorbent slab can behave differently from a smooth trowelled sample; price the preparation and repairs as well as the liquid.
Small defects deserve attention before hardening
Once the dust is gone, an older floor often reveals tiny pores, small surface pits and fine cracks. Where these are suitable for filling during grinding, C² Pin Fix can help make the surface more continuous. It mixes with the concrete dust produced by the grinder to form a filler, reducing the little recesses where dirt collects.
How small is small? The manufacturer describes pinholes, microcracks, small air voids and pop-outs, but gives no maximum crack width or pit depth in millimetres. Treat these as small surface imperfections to assess on a trial area, not a size-rated repair system. Wider, deep or moving cracks and larger holes need a separately selected repair method.
If this step is needed, plan it into the grinding work before C² Super Hard. Pin Fix is used near the final metal-bond grinding stage or the initial resin-bond stage, followed by the drying and further preparation in its instructions. Simply pouring it into a hole is not the described method. For a garage needing only cleaning and hardening, this remains an optional preparation step.
How this floor is made
- 01
Assess and agree
Clear a representative area and look beyond the loose dust. Record flaking, hollow or detached areas, cracks, old paint and oil. If the slab or its surface is breaking away, establish the cause and repair it first. A hardener is not a way to glue a failed floor back together.
- 02
Prepare the surface
Remove loose material, incompatible coatings and contamination. Choose a suitable Crete Colors preparation cleaner for the soil; oil needs more than a quick rinse. Rinse away cleaner residues and let the floor dry. A light water spray should wet the test area evenly. Beading or patchy wetting means preparation is not complete.
- 03
Build the finish
If suitable pores or microcracks need filling, complete the C² Pin Fix grinding step and its specified drying and preparation before applying the hardener. Test C² Super Hard on the prepared area using the intended application method. Use it as supplied, without dilution, and follow the current TDS for your concrete finish. Spread uniformly with a low-pressure sprayer and clean microfiber applicator; avoid puddles. Let the trial dry before assessing the result and measuring actual consumption for the rest of the room.
- 04
Protect and maintain
Remove any dried powder residues as directed and confirm readiness before returning the room to service. Agree separate compatible protection if oil or other spills are expected. Keep grit under control and clean with an appropriate C² maintenance product. Old stains and repairs may still be visible: the aim is a more serviceable concrete surface.