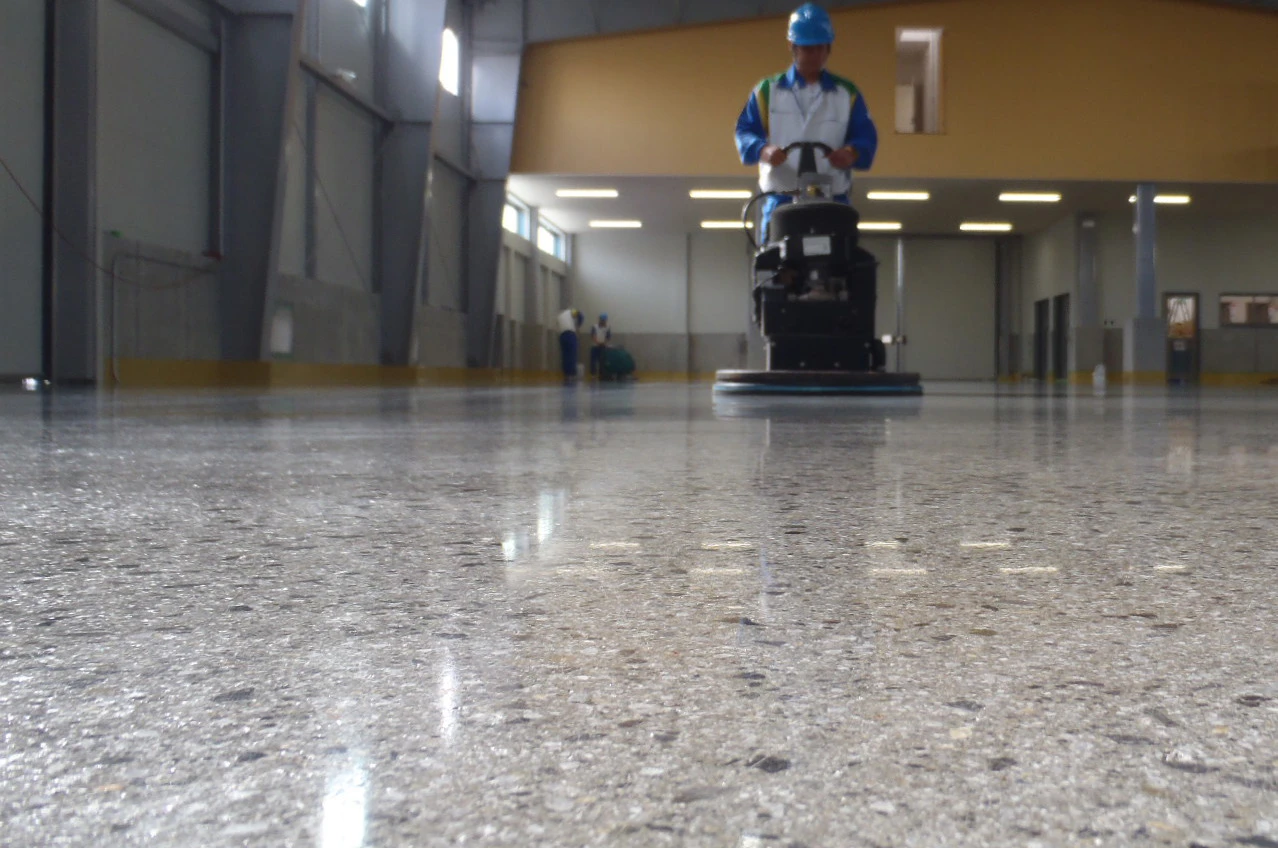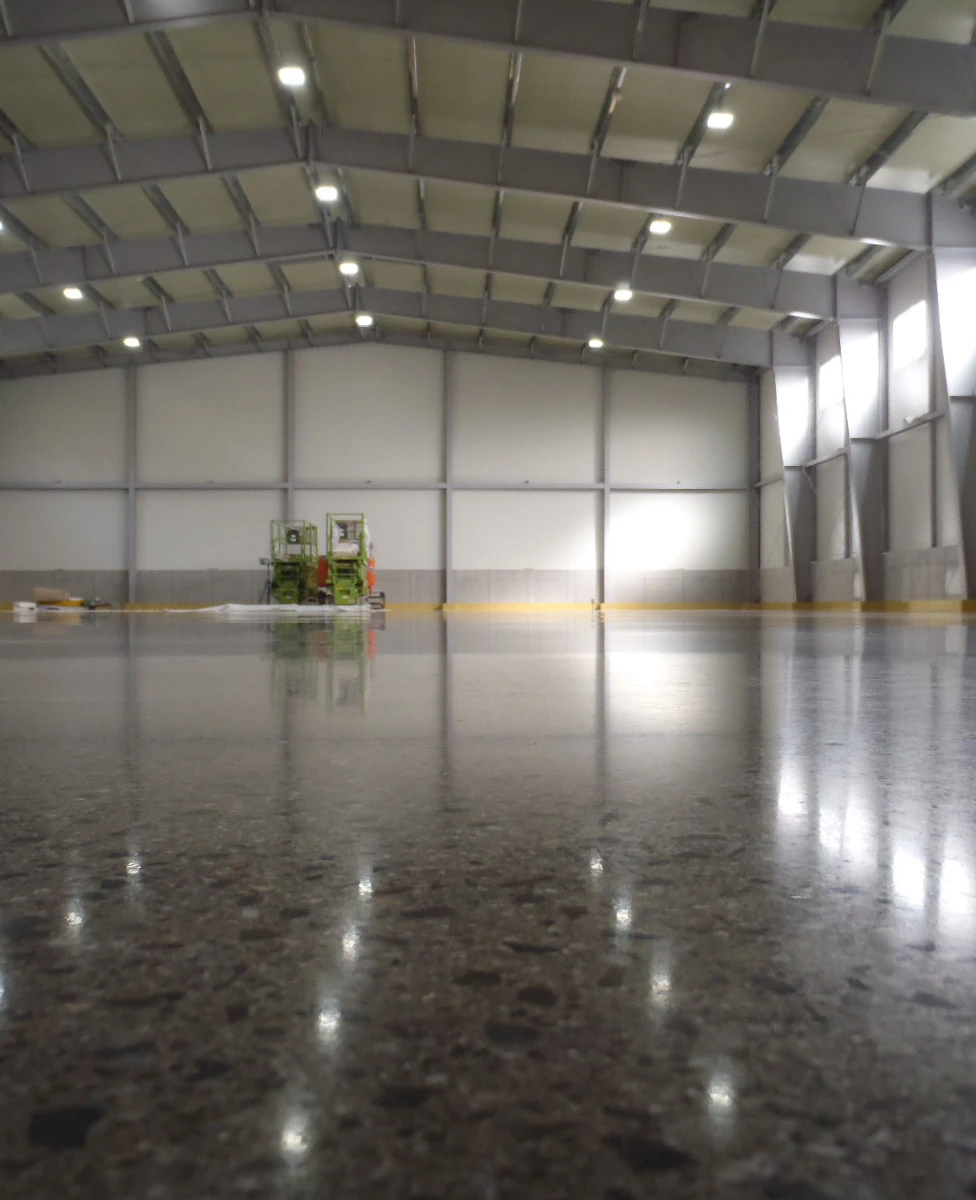
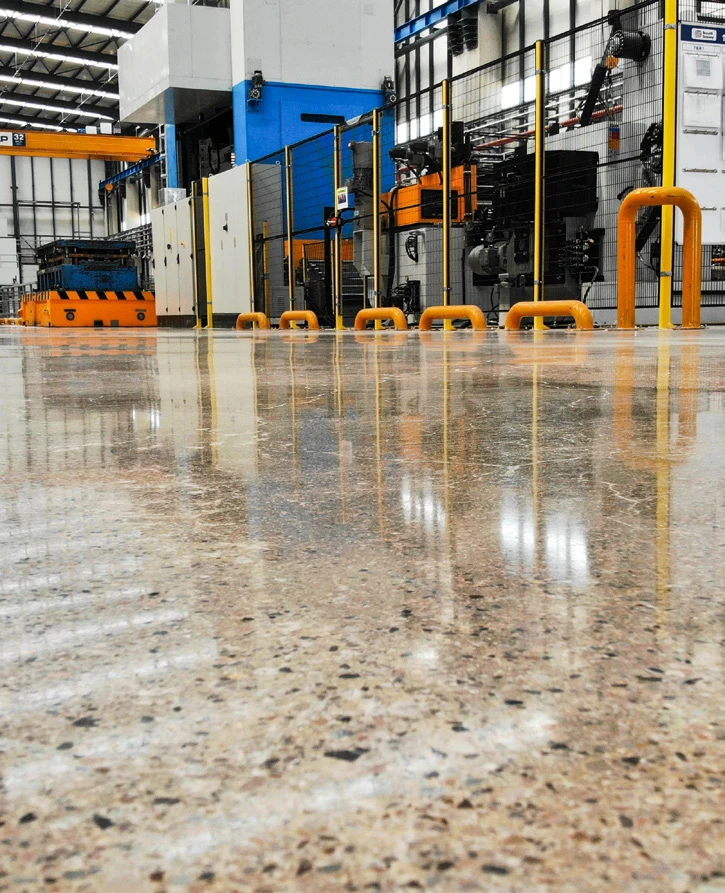
The stone is already there; grinding reveals it
This floor begins with a small reveal. Grind a representative patch and let the aggregate, mix and placement tell you what the slab can offer. A light salt-and-pepper finish and a deep stone exposure are different jobs, even if both photographs are labelled polished concrete.
This finish reveals the aggregate inside the slab. It is achieved mechanically, not by adding a hardener or a clear coating. The concrete mix, placement and depth of grinding determine the pattern. An existing slab may expose uneven stone sizes, repairs or patches, so a sample is essential before committing to a large area.
What the crew brings to site
A concrete grinder does the cutting when the surface needs levelling or deeper aggregate exposure. An edge grinder reaches walls and columns. The machine and tooling are selected together for the slab, not simply by motor power.
On suitable surfaces, C² Power Polish offers another route: C² Diamonds resin discs fitted to compatible power trowels, scrubber-dryers or swing machines. Check the mounting, speed and wet/dry compatibility before starting. A finishing system is not a substitute for deep stock removal.
The less glamorous kit matters too: appropriate dust extraction for dry work, slurry collection for wet work, a scrubber-dryer for cleaning between stages, a low-pressure sprayer and clean microfiber applicators. Keep clean tools separate from the grinding area.
Read the surface, then choose the disc
Think of a disc number as a step, not a promise of gloss. Coarser tooling opens the surface; finer tooling refines the scratches it leaves. Metal-bond tools are used for removal, while resin tooling develops the finish. Concrete hardness, the tool bond and the machine all influence the cut. Choose the initial grit on a trial area and check tool wear early; do not copy a sequence from another slab blindly.
The route for this floor
For deeper exposure, use a suitable concrete grinder and metal-bond tools; a maintenance pad will not do that work. Once the agreed exposure is reached, refine the scratch pattern through the tooling supplier’s transitions into resin abrasives. Fill suitable pinholes with C² Pin Fix at its specified grinding stage, then follow the densifier and finishing instructions. Keep edges and the main field visually consistent; polish cannot disguise a different grinding depth.
#50 → #100 → #200, wet · suitable C² densifier · #400 → #800 → #1500, wet or dry · compatible protection.
This is one manufacturer route for suitable concrete, not a compulsory recipe for every floor. Agree the starting point and stopping point on the sample. Coloured floors follow the Tint instructions; a matte finish does not require chasing the highest grit.
What a good pass looks like
Work in manageable areas with even, overlapping passes. At each change of abrasive, remove loose grit and inspect a clean patch under low-angle light. A remaining coarse scratch needs attention now: a finer disc may make the surrounding concrete shine without removing it. Treat the perimeter to the same visual standard as the middle. Machine speed, pressure and travel rate come from the equipment and tooling instructions, then are confirmed on the test area.
How this floor is made
- 01
Assess and agree
Agree the visual target using a test panel. Decide whether the aim is a light salt-and-pepper appearance or greater aggregate exposure. A contractor should establish a suitable removal depth without compromising the slab, reinforcement cover, joints or other embedded elements.
- 02
Prepare the surface
Grind to the approved exposure, then refine the scratch pattern in stages. Clean between stages and inspect edges as well as the main area. C² Pin Fix can fill suitable pinholes during grinding before densifying; it does not replace a separate repair design for larger defects.
- 03
Build the finish
Apply C² Hard or an assessed alternative to clean, dry, absorbent concrete at the appropriate stage. Continue with progressively finer abrasives to the chosen sheen. Aggregate exposure and gloss are separate decisions: visible stone does not require a mirror finish.
- 04
Protect and maintain
Choose the protective treatment and a maintenance plan. C² Seal is a possible glossy route; a different desired appearance requires its own compatible protection choice. Maintain the floor with the specified C² cleaner and remove abrasive dirt frequently.
Floor and process examples