Matte is a deliberate finish, not an unfinished shine
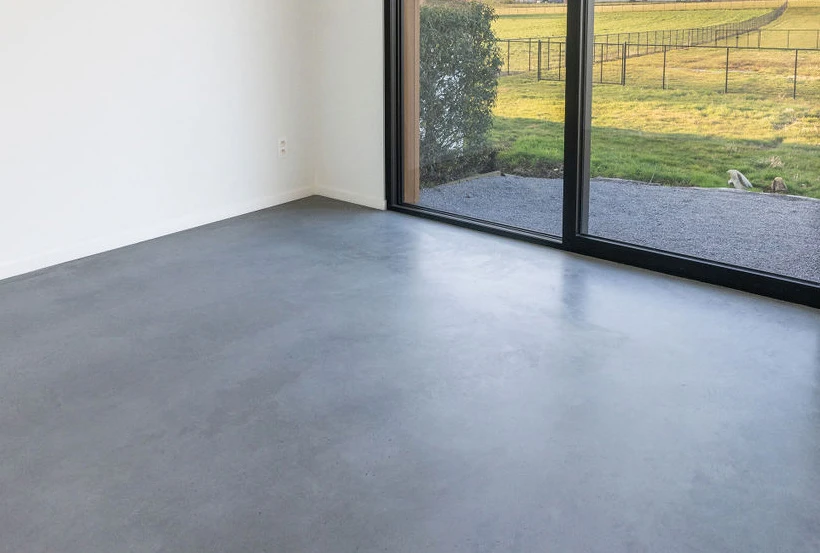
In a quiet interior, the best floor may be the one that does not compete with the room. Judge the sample beside the walls, timber and glazing. Low sheen can still show grinding marks, so a matte brief calls for careful refinement rather than an early stop on a rough surface.
A matte concrete interior keeps the mineral character of the slab without aiming for a high-gloss reflection. Surface texture and the protective treatment both influence the result. C² Ultra Matte provides a matte protective finish on suitable concrete, including surfaces treated with C² densifiers; it is not a product for levelling an uneven floor.
What the crew brings to site
A concrete grinder does the cutting when the surface needs levelling or deeper aggregate exposure. An edge grinder reaches walls and columns. The machine and tooling are selected together for the slab, not simply by motor power.
On suitable surfaces, C² Power Polish offers another route: C² Diamonds resin discs fitted to compatible power trowels, scrubber-dryers or swing machines. Check the mounting, speed and wet/dry compatibility before starting. A finishing system is not a substitute for deep stock removal.
The less glamorous kit matters too: appropriate dust extraction for dry work, slurry collection for wet work, a scrubber-dryer for cleaning between stages, a low-pressure sprayer and clean microfiber applicators. Keep clean tools separate from the grinding area.
Read the surface, then choose the disc
Think of a disc number as a step, not a promise of gloss. Coarser tooling opens the surface; finer tooling refines the scratches it leaves. Metal-bond tools are used for removal, while resin tooling develops the finish. Concrete hardness, the tool bond and the machine all influence the cut. Choose the initial grit on a trial area and check tool wear early; do not copy a sequence from another slab blindly.
The route for this floor
Use a suitable grinder or refinement system with resin abrasives to reach the approved texture. The last grit is a sample decision, not a universal matte number. After the selected densifier and preparation steps, apply C² Ultra Matte in thin, even coats according to its TDS. Put the high-speed burnisher aside: Ultra Matte must not be burnished. The final sample must include the protection, because it changes how the floor reads in the light.
What a good pass looks like
Work in manageable areas with even, overlapping passes. At each change of abrasive, remove loose grit and inspect a clean patch under low-angle light. A remaining coarse scratch needs attention now: a finer disc may make the surrounding concrete shine without removing it. Treat the perimeter to the same visual standard as the middle. Machine speed, pressure and travel rate come from the equipment and tooling instructions, then are confirmed on the test area.
How this floor is made
- 01
Assess and agree
Prepare a sample in the room or under comparable lighting. Inspect the slab for stains, repairs, moisture-related issues and existing treatments. Agree the appearance of joints and natural variation. Remove incompatible material and repair defects before any decorative finishing.
- 02
Prepare the surface
Refine the concrete to the approved texture. Avoid polishing toward a gloss that is not part of the design. Where hardening is needed, select C² Hard or another appropriate C² densifier for the actual substrate and follow its preparation and application instructions.
- 03
Build the finish
Apply C² Ultra Matte only to a suitably prepared, clean and dry surface. Follow its instructions for thin, uniform coats and drying. Never burnish C² Ultra Matte: high-speed buffing is not a finishing step for this protective treatment.
- 04
Protect and maintain
Protect the floor during drying and other building work. Use C² Clean or C² Maintenance for the agreed care routine. Remove spills quickly, especially acidic food and drink, and avoid unsuitable household cleaners or abrasive maintenance pads.
Floor and process examples